6. Examples
In the following simple usage examples of Joystick Gremlin will be shown. These should give you an idea of what is possible and illustrate the use of the UI.
Shift Button
Sometimes it is desirable to have a single physical button to have different functionality based on whether or not another button is pressed. There are two ways to achieve this with different advantages and disadvantages. These two approaches differ in how the shift functinoality is achieved:
- Condition
- Mode
Condition-Based Shift Button
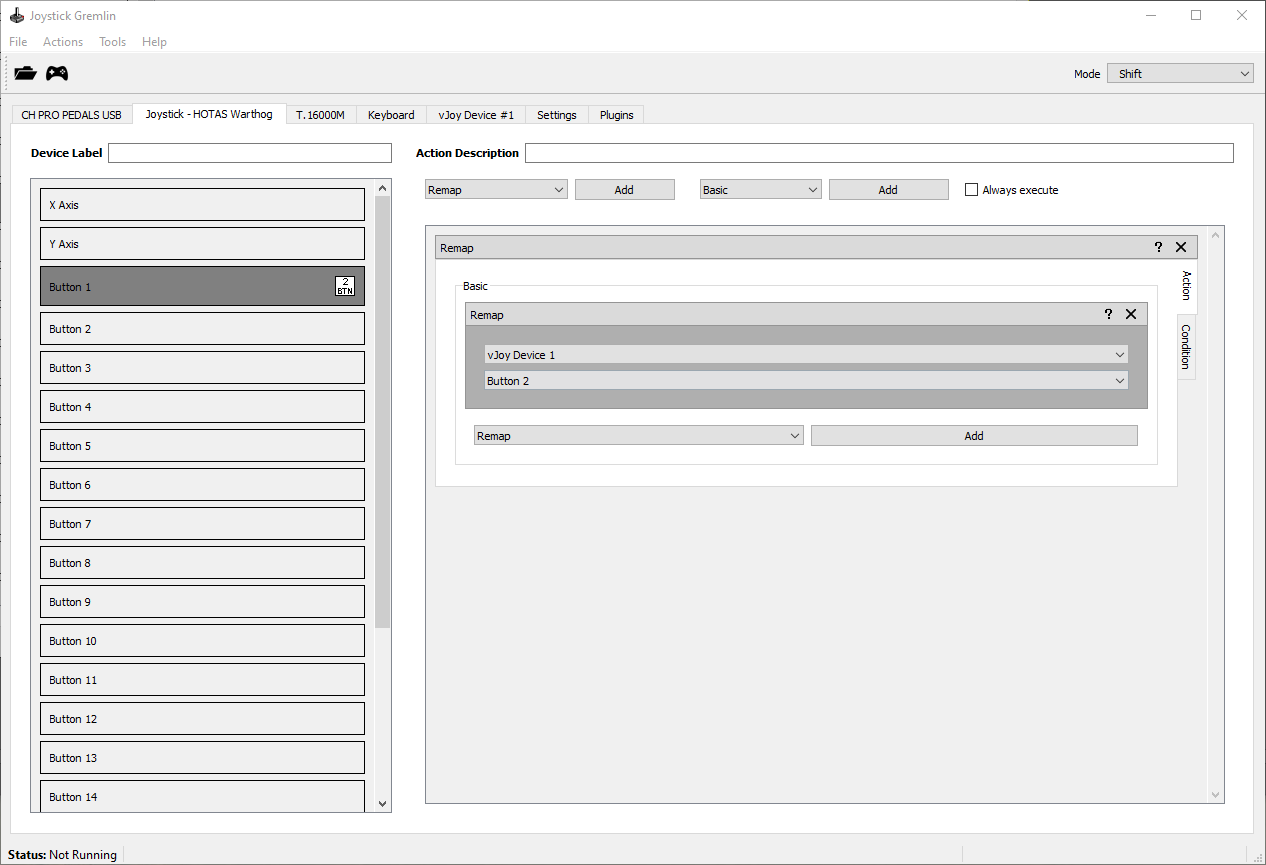
In this setup the shift functionality is achieved by having Gremlin do different things using conditions to check if the shift button is pressed or not. The two remap actions are added inside their own containers, to allow a container condition to be added to each of them. In both cases the condition checks the state of T16000.M Button 2. If that button is not pressed the first remap action is executed, and if not the second one. It is paramount that both the shifted as well as the default action have a condition associated with them, otherwise the action lacking a condition will be executed independent on the state of the shift button.
The advantage of this setup is that you can directly see what both the default and shifted actions do. The downside is that this can get a bit tedious when having many shifted actions. As a result, this approach is usually preferred when only one or two inputs need to be shifted via a particular shift button.
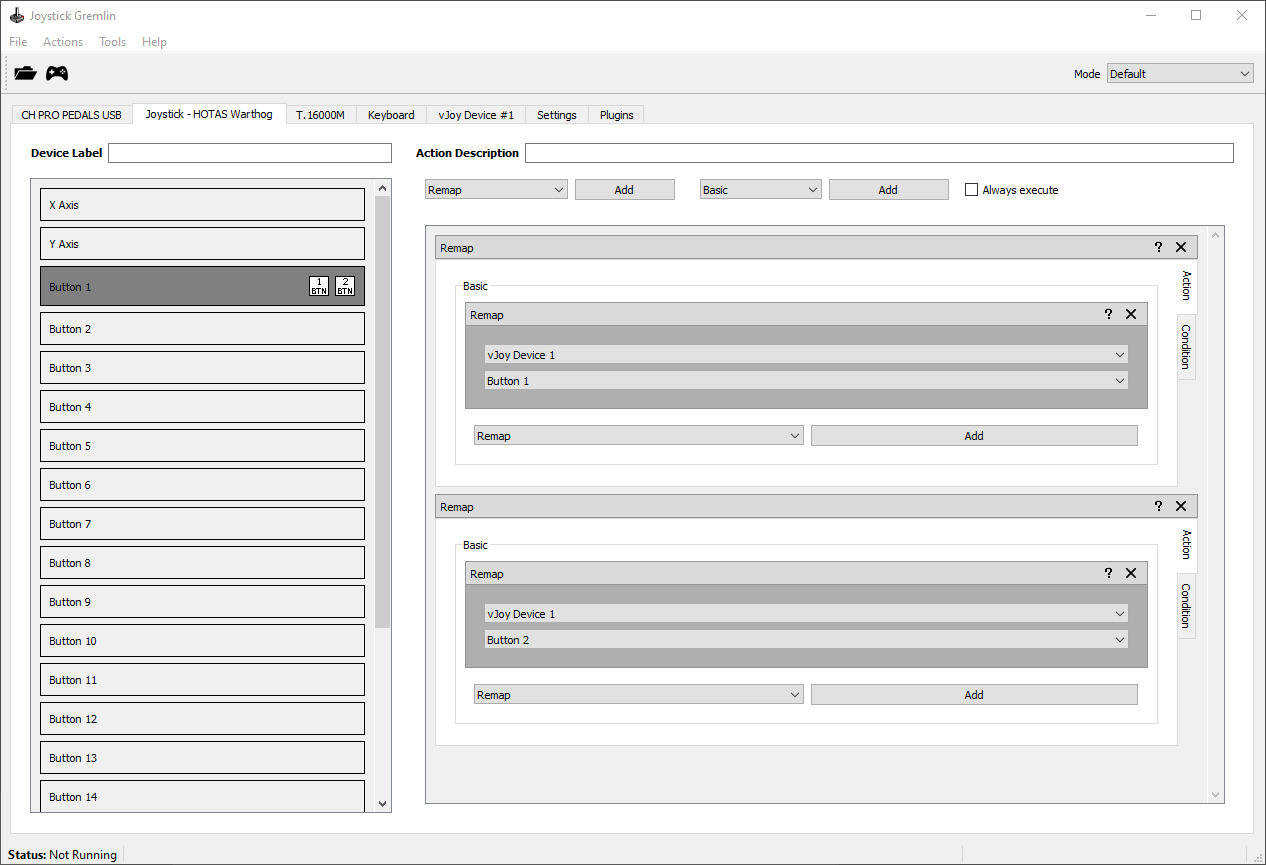
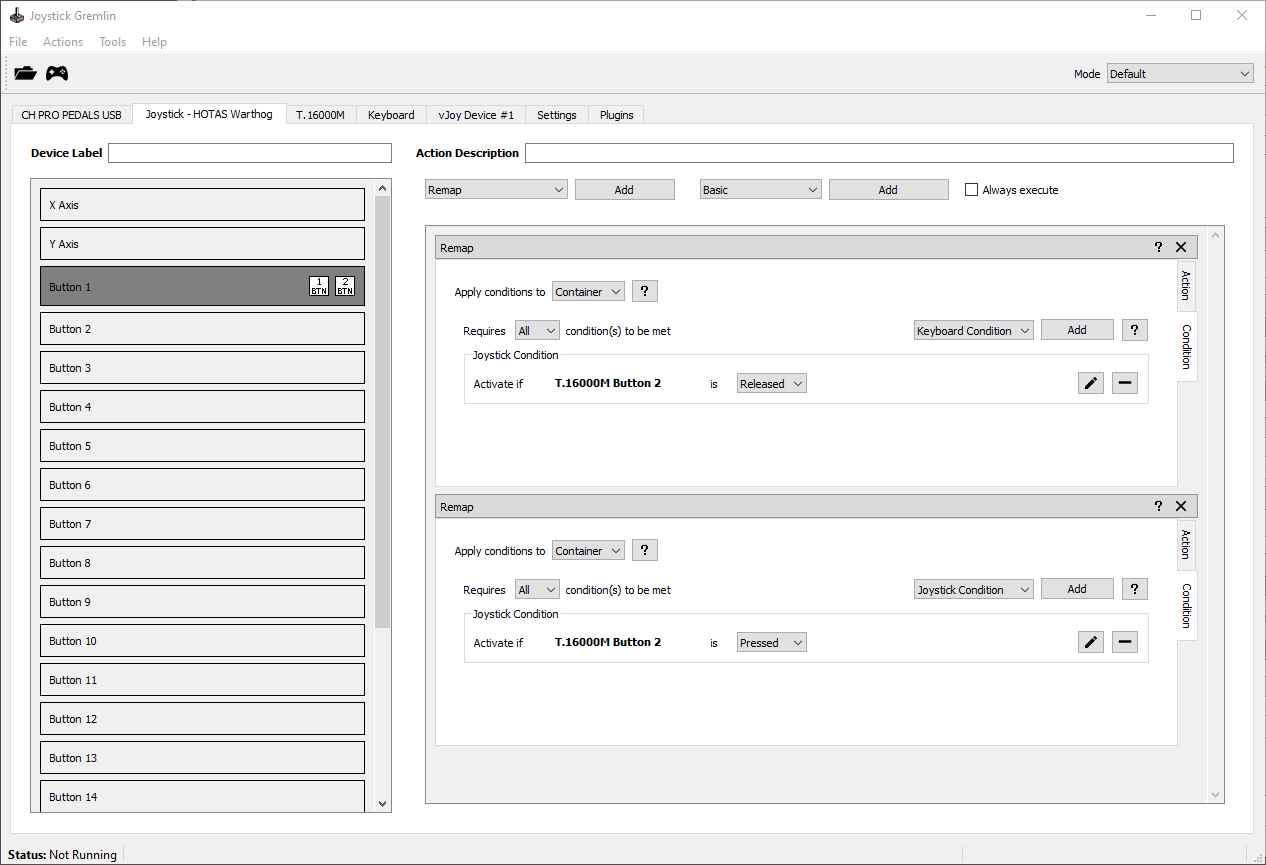
The above image shows how the example shift setup looks like when using conditions.
Temporary Mode Shift Button
The other approach uses the mode system of Gremlin to use an entire mode to hold the shifted functionality. To this end a new mode, Shift in this example, is added. Crucially, this new mode is a parent of the Default mode, which ensures that all Default mode actions are still executed while in the Shift mode, with the exception of shifted buttons. The shift button T16000.M Button 2 is assigned a Temporary Mode Switch action which will activate the Shift mode for as long as that button is pressed. The Default mode simply contains the default actions while the Shift mode holds the shift behaviour.
The advantage of this method is that adding shifted actions is straight forward and one can easily see which inputs have a shift action associated with them. The disadvantage is that this is only really suitable for profiles with a single shift button, as having different buttons act as different shift modes can quickly make for a hard to understand setup. As such this is mainly useful when one wants to use a single button to implement an entire shift mode.
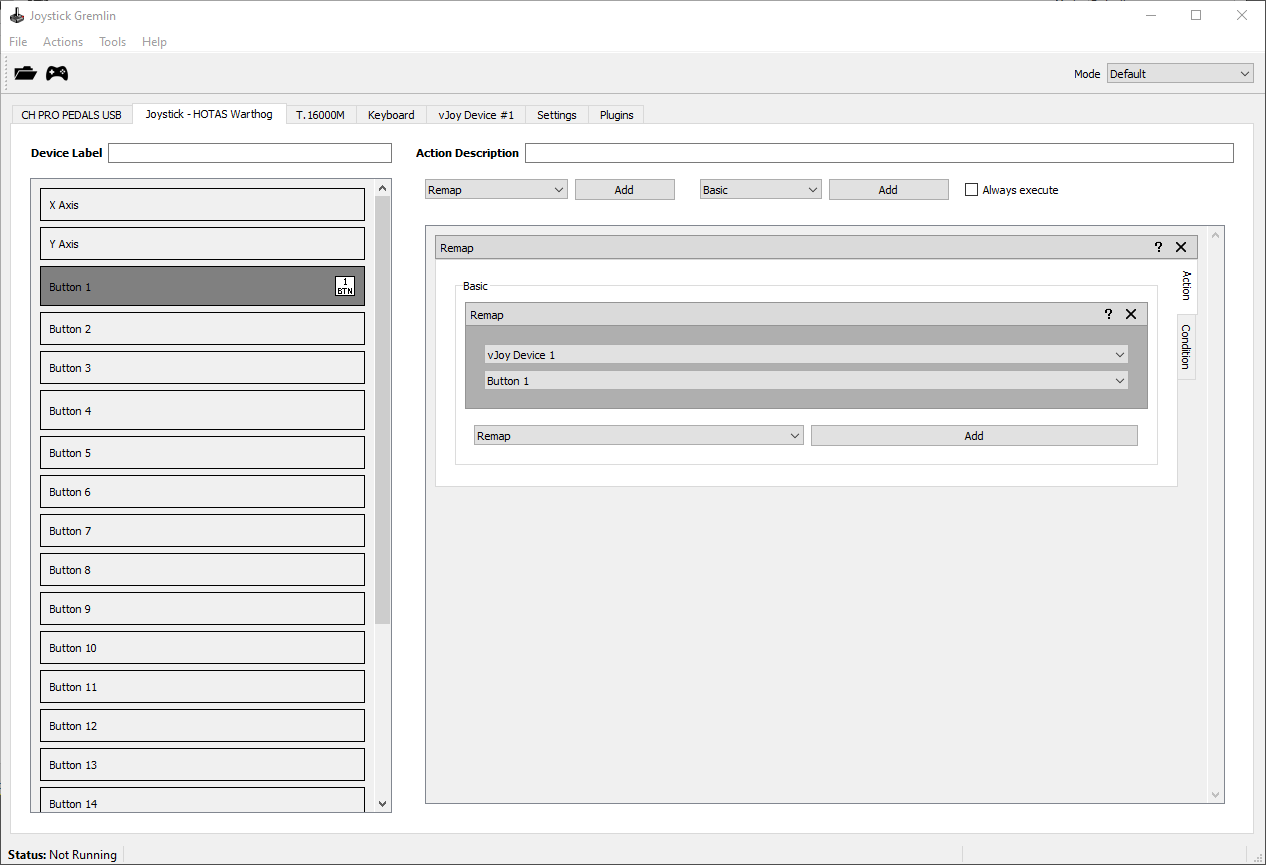
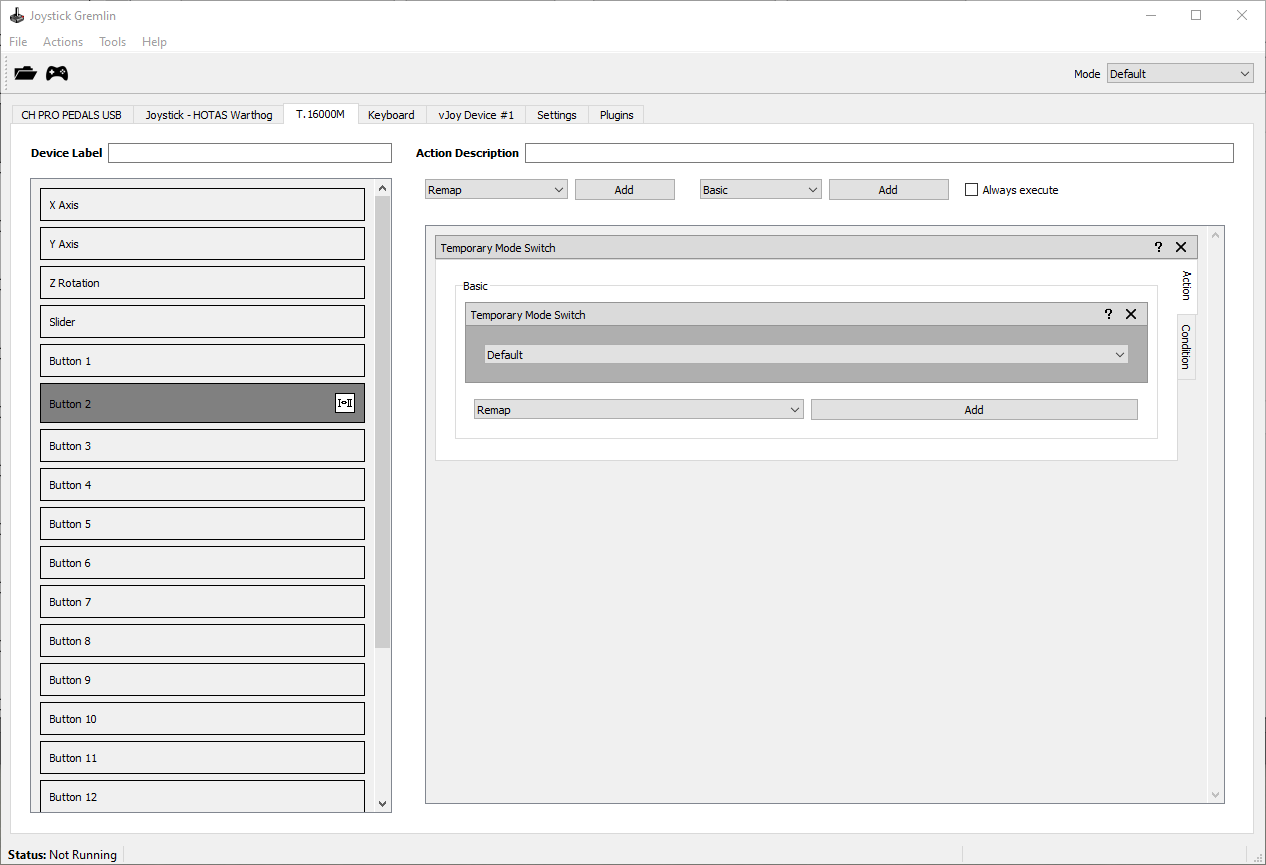
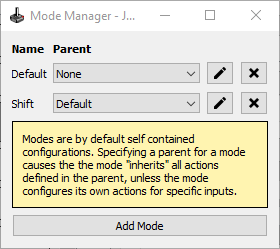
The above image shows how the example shift setup looks like when using a dedicated mode.